
How to Turn a Stock Tank into a Pool
I kept seeing pictures of stock tank pools floating around on the internet and finally decided that we had to try it. Luke and I spent about a week doing some research to see if it was something that would be worth it. We read blogs and watched videos and Instagram stories and decided it was worth a shot. Our goal was to keep it around $600 or less (spoiler alert, we did!). Everything we used is linked at the bottom of this post.
TikTok of how we did it here and here and how we painted it here.
Step 1
Buy all of the things. I have it all listed out at the bottom of this post. We called Tractor Supply Company to make sure they had the exact stock tank we needed and then rented a truck to pick it up. Most of the other parts were ordered off of Amazon. Our friend Jon (pictured below) helped Luke get the tank and bring it to our house.

Step 2
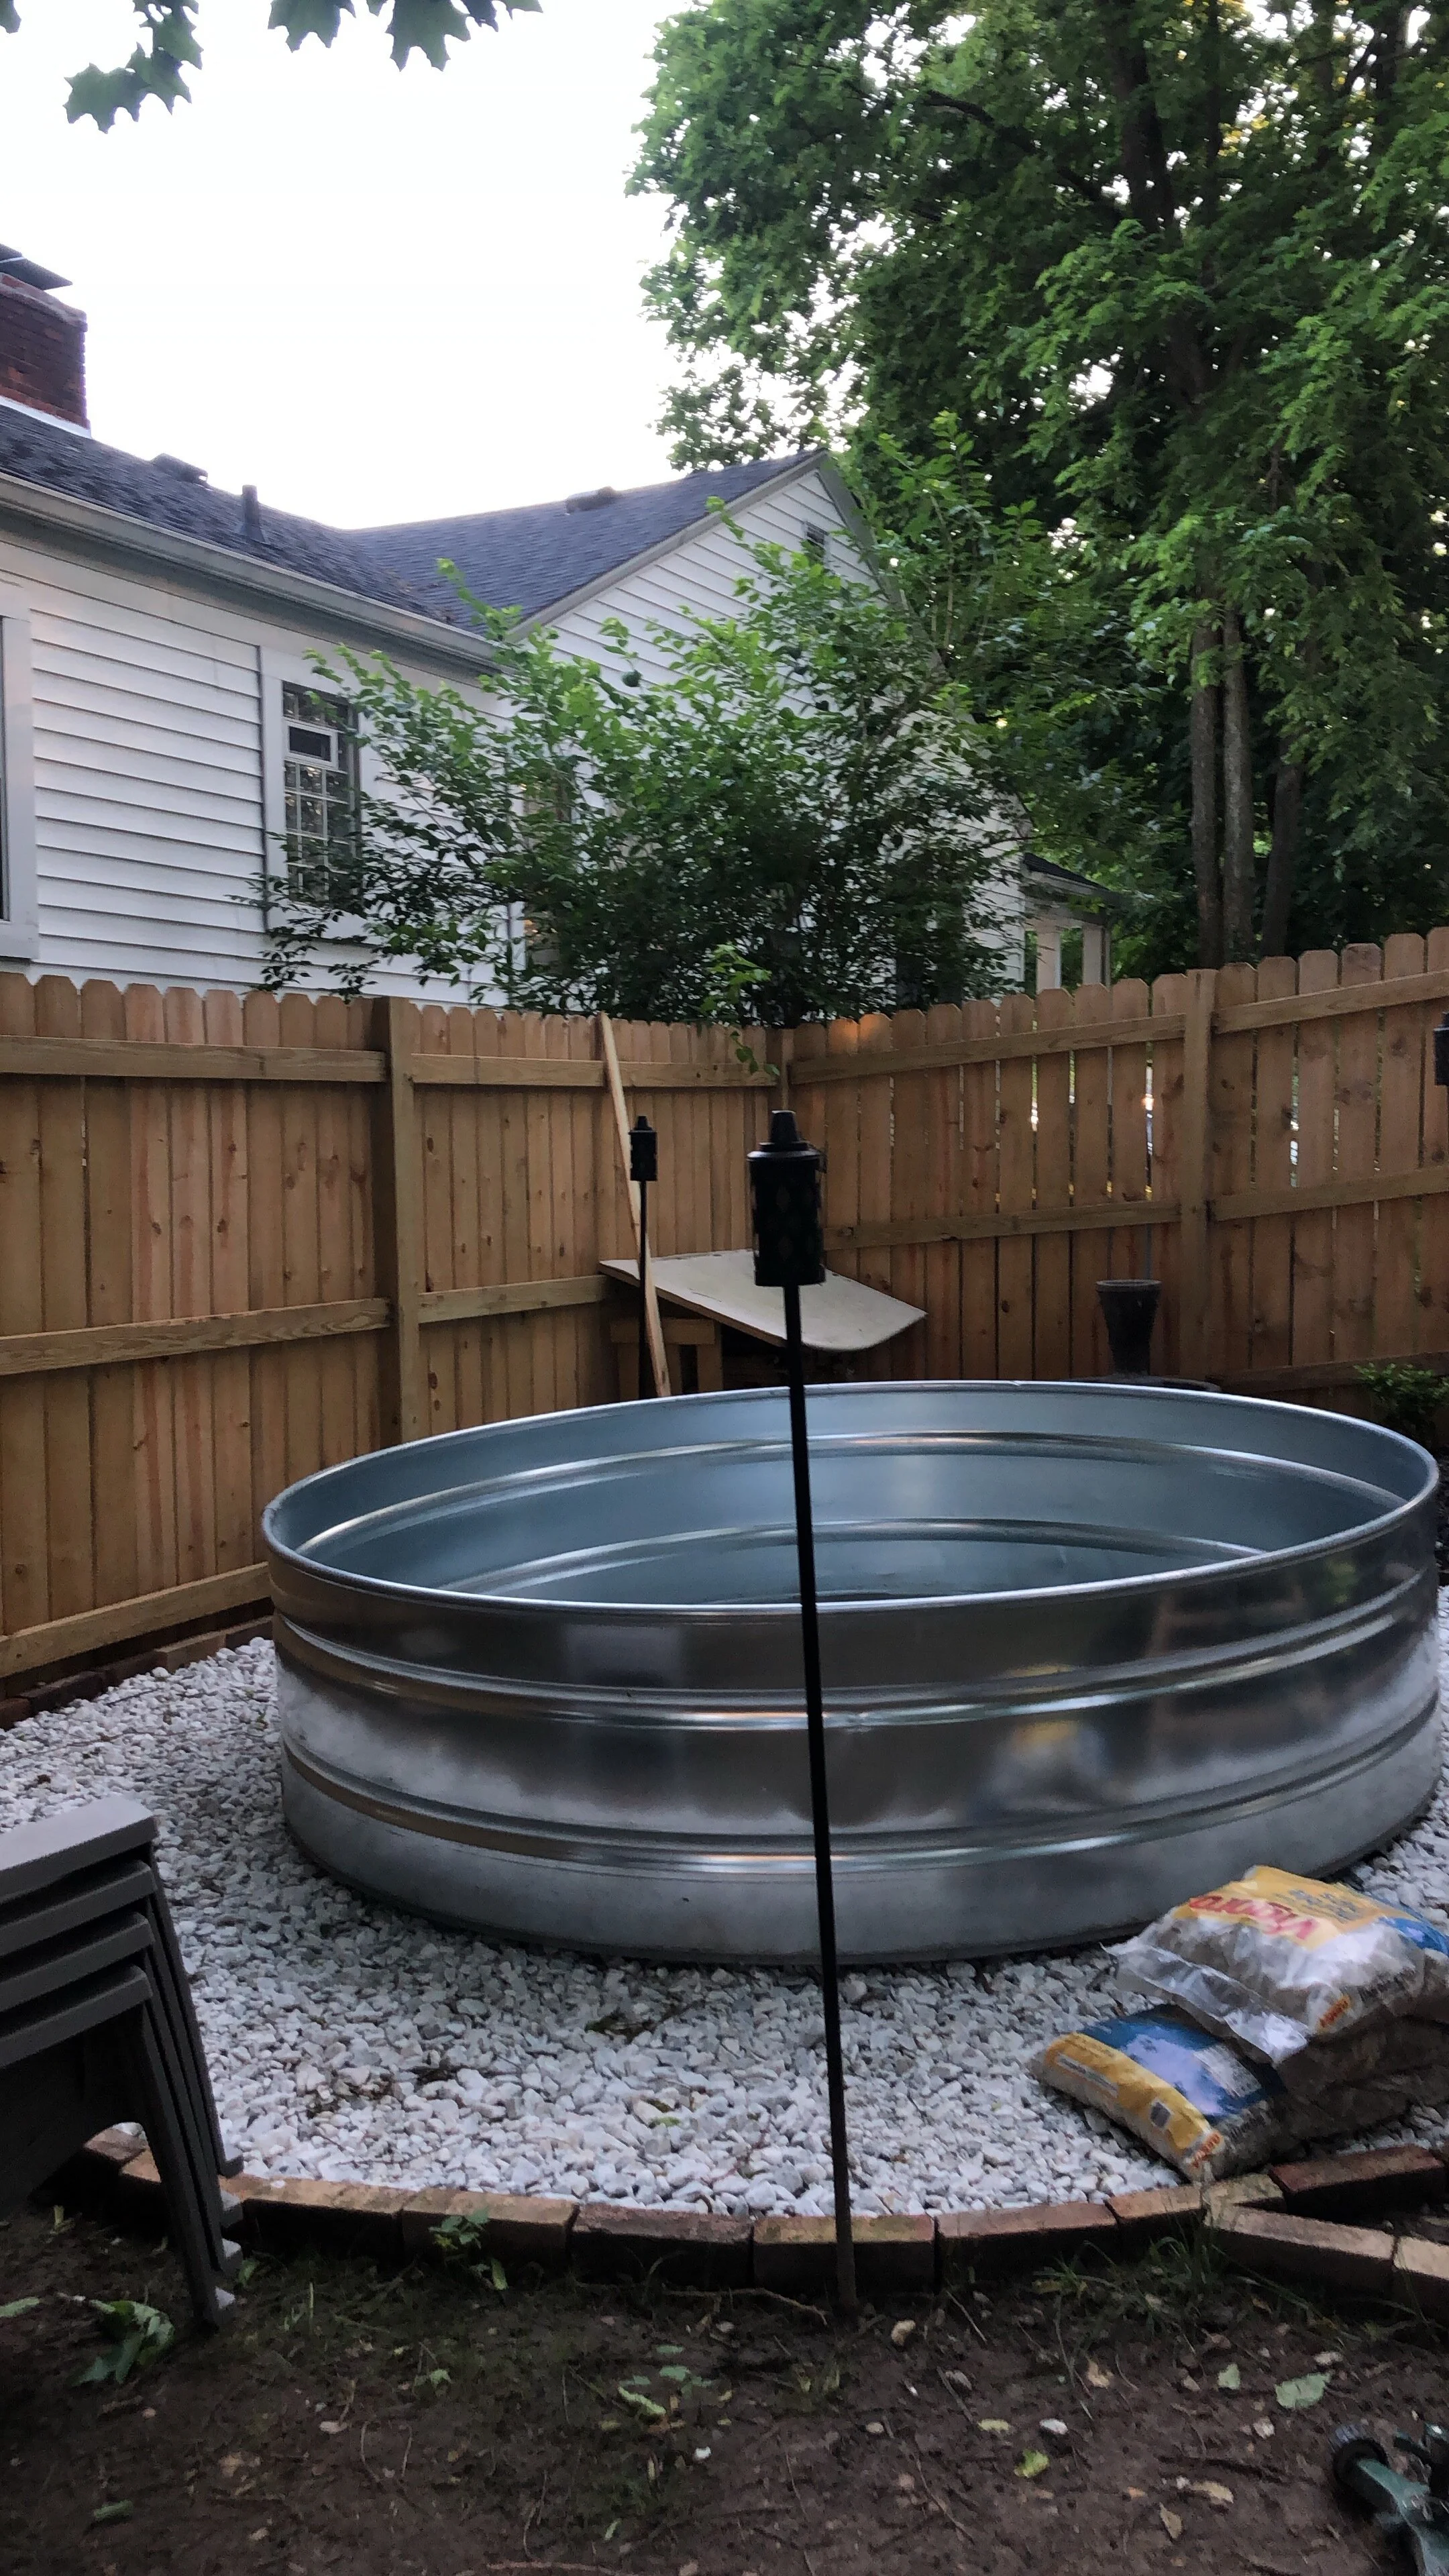
Level the ground. You want to make sure the ground under the stock tank is very level. The water gets heavy really quickly so you will want to make sure you do this right before you fill it up. We used rock and sand to make sure it was all level. It won’t be perfect but you want to get it pretty close to even.
* At this point in the process I did paint the pool. I am going to do a seperate blog post about how to paint your stock tank pool because we made a TON of mistakes. DO NOT USE FLEX SEAL. It doesn’t work and will start to chip immediately.
Step 3
Install the pool pump. Luke watched some videos and put in the pool pump in our stock tank pool. He found that using a high quality hole saw makes a HUGE difference. He got the one we used at Lowe’s (linked below). When you are cutting the tank it will shoot some shards at you so we recommend wearing pants and protective glasses.
Drill the holes for where you will attach the pump.
Attach the pump into both of those holes. Make sure to add a rubber gasket to both holes to protect from leaking.
Add some seal tape around where you will screw on the front and back parts of the pump.
Seal everything with two coats of the silicone sealant.
Attach the hoses to the pump and pool.
Step 4
Fill up the pool with water. If you notice that it is leaning when you first start to fill it, adjust the tank as soon as you can before it gets too heavy.
Step 5
Check for leaks. If you see there is water coming out of where you have attached the pool, stop filling the pool and drain the water. You will need to add some more sealant. When we filled up our pool we didn’t have any leaks.

Step 6
Add chlorine and pool cleaning chemicals to keep it sanitary. We use a testing kit to make sure the levels of our pool stay pretty steady. We do shock it every once in a while to make sure it is staying clean.
Step 7
Enjoy!

Links to products
Stock Tank Pool (we have the 8 foot one)
Pool Pump this is the one we used, but you can also use this pool pump. It has 1500 GPH versus ours which has 2500 GPH. I cannot speak to how this will affect the pool because we have not used it.
Above Ground Plunger Valves with Gaskets & Nuts Replacement Part (2 Pack)
Rubber Washer
Silicone Sealer
Strainer Nuts
Thread Strainer Connector
2-3/4 in Metal Hole Saw
Seal Tape
Pool Leak Skimmer
Pool Testing Kit
Clorox Pool & Spa Scale, Metal & Stain Control
Clorox Pool & Spa Small Pool 1" Chlorinating Tablets
Floating Mini Tablet Spa Chemical Dispenser
Clorox Pool & Spa pH Down
Pool Spa Pond Mini Jet Vac Vacuum Cleaner w/Brush, Bag, and 4' Pole
Pool heater we used this to make the pool warm in the colder months
*some of these are affiliate links